Create a Data Product Manually
Model a data product directly in the Studio web UI — useful for planning a new data product or when you have no platform connector yet.
Before you start
- You are a member of a team with rights to add resources (role Owner, Editor, or Approver — see Roles).
- You know which team owns this data product. Ownership cannot be left empty.
1. Create the data product
This registers the product so your team — and later, consumers — can find it and collaborate on it. Do this first, even while the data product is still just an idea — you'll flesh it out over the next steps.
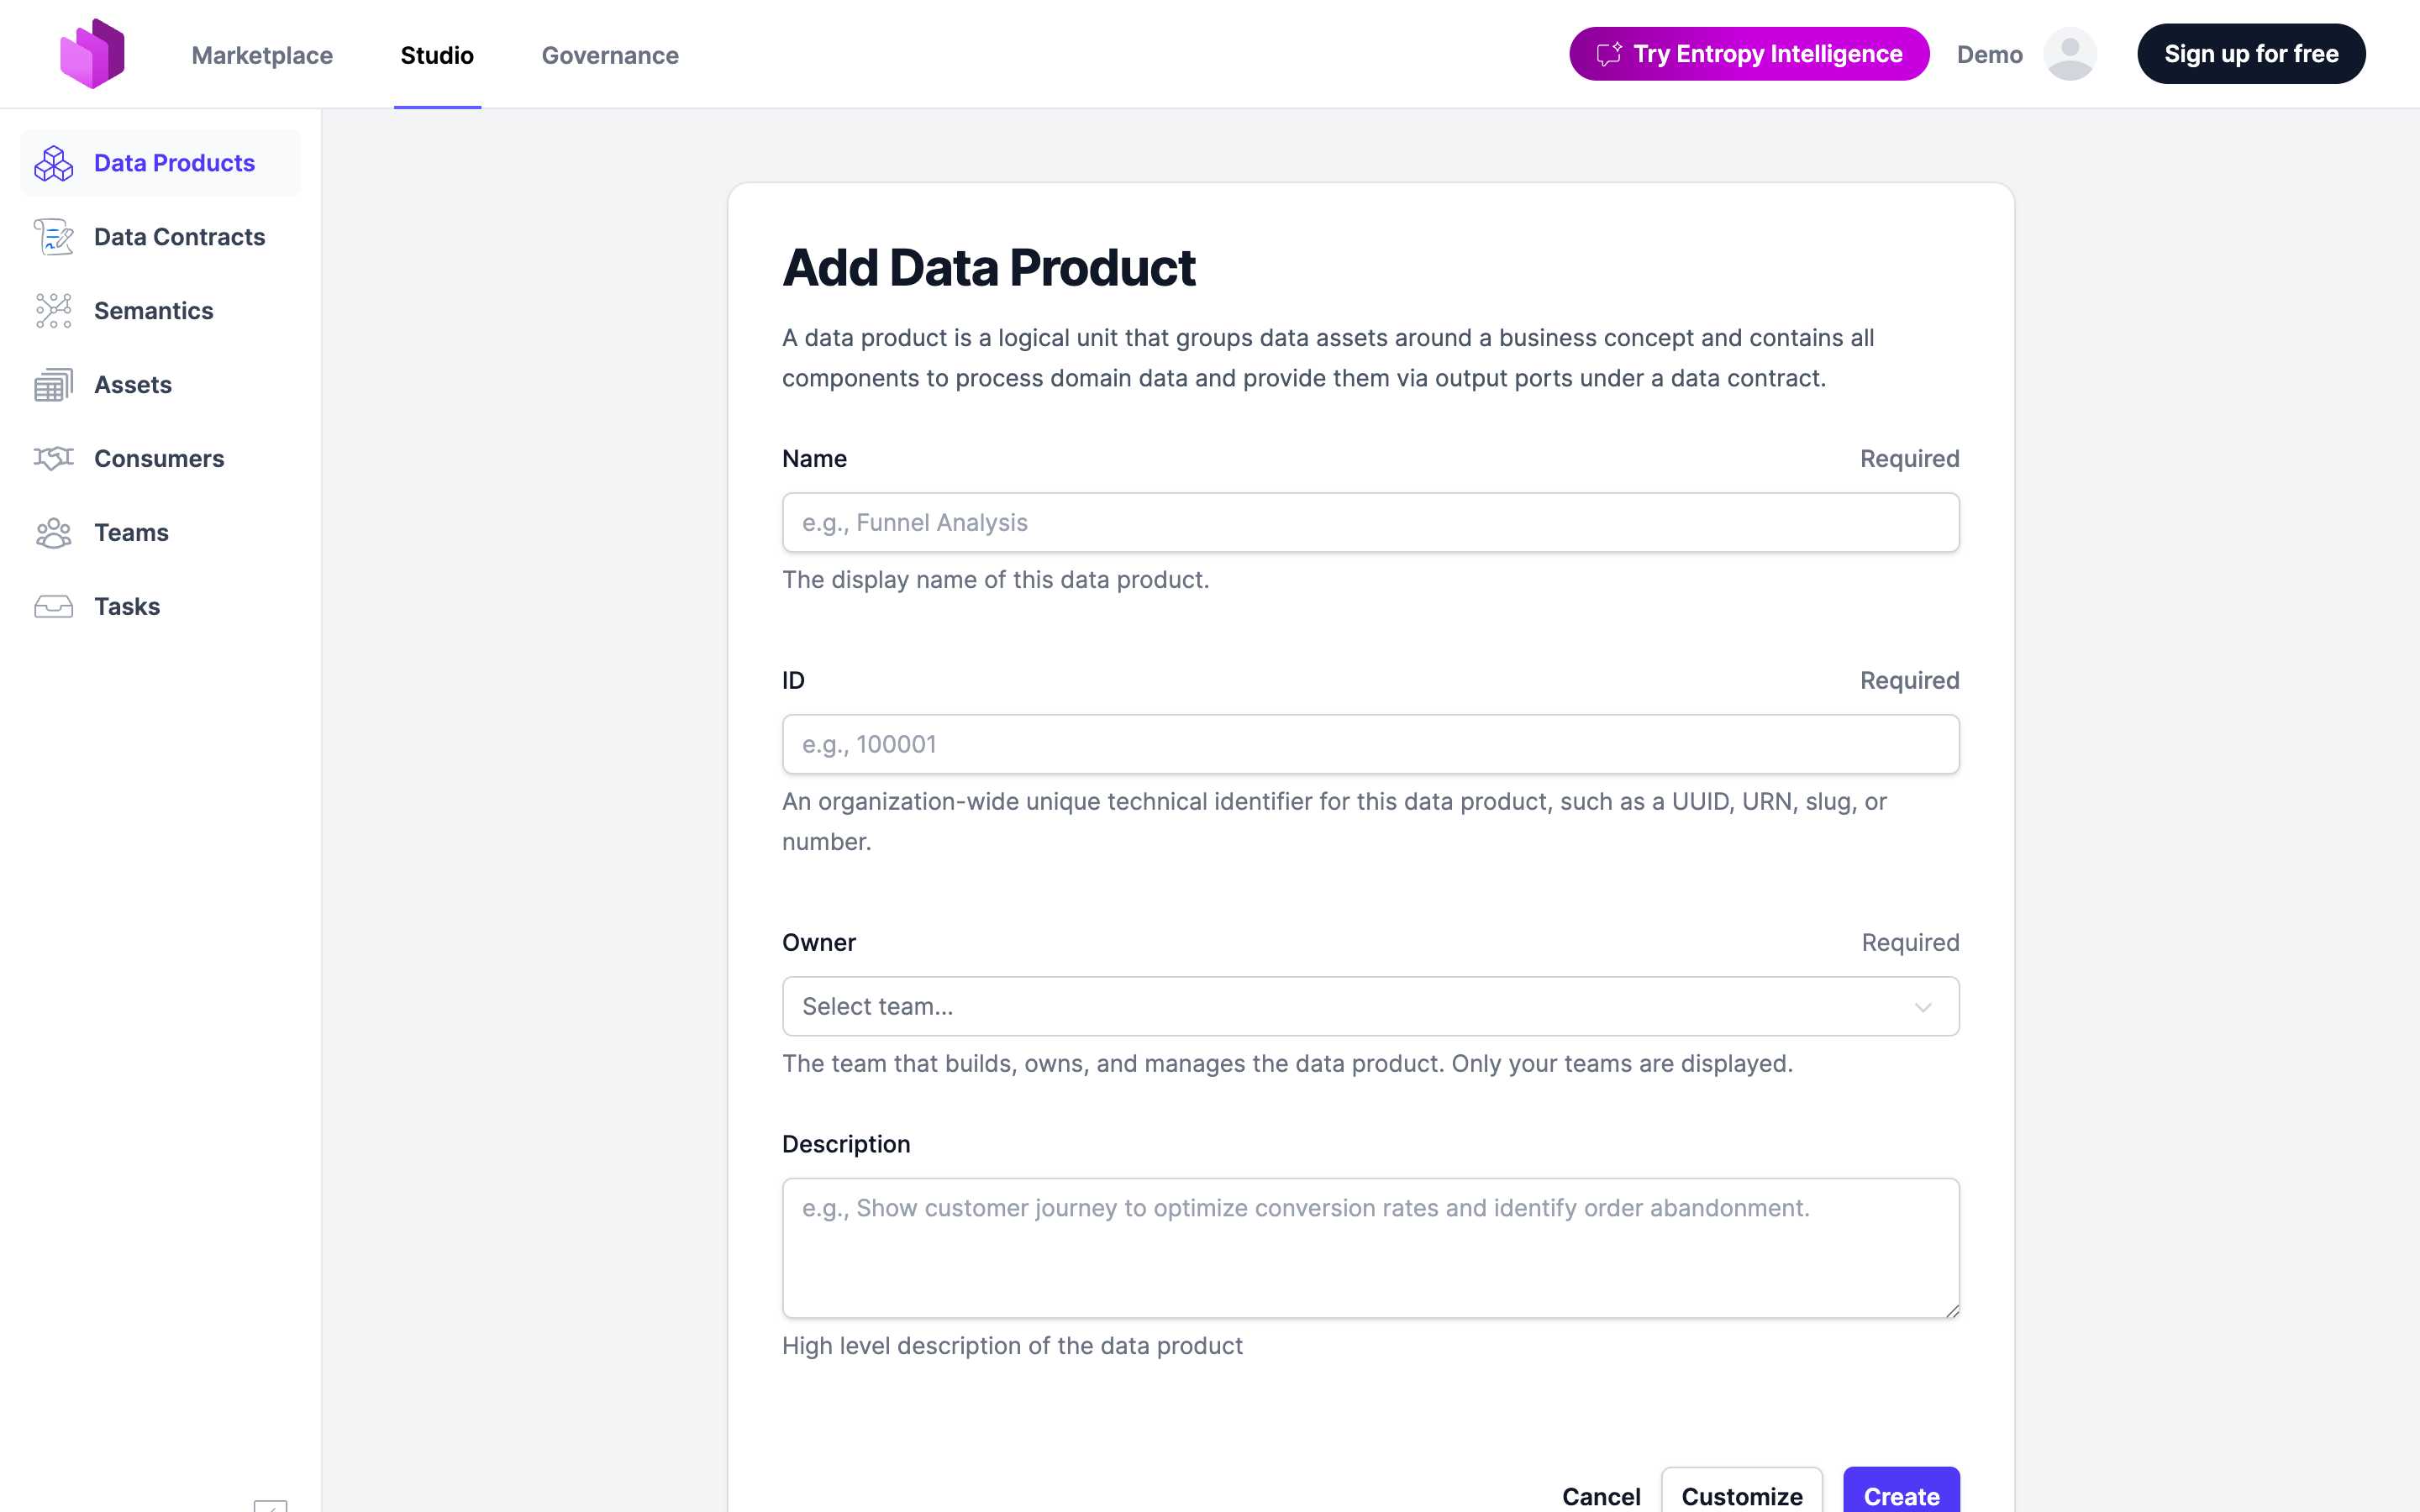
- Go to Studio → Data Products.
- Open the Add Data Product menu and choose Add in Web UI (the other options import from a platform, or Add as YAML).
- On the Select Type step, keep the type Data Product (the other types — Data Consumer, Application, AI Agent — model non-data-product nodes in your data map). Then choose its alignment — Source-aligned, Aggregate, or Consumer-aligned (see Data Product Types) — and click Next.
- Fill in the fields, in the order the form presents them:
- Name (required) — the display name shown in the Marketplace.
- ID (required) — a stable, technical identifier. It becomes part of the URL and API path and cannot be changed once created. Use lowercase, hyphenated, and prefixed by domain, e.g.
sales-ordersorfulfillment.shipments. Avoid names that encode a version or a team that may be reorganized. - Owner (required) — the team that builds, owns, and manages the data product. Only your teams are shown.
- Description — a high-level summary of what the data product offers.
- Click Create — or Customize to set more properties up front.
2. Explore the detail page
The detail page is your home base — every step below happens here, so it pays to know where things live. (Already familiar with it? Skip ahead.)
After creating, you land on the data product detail page. From here you can:
- Edit the metadata you just entered, or switch to the YAML editor for the full specification.
- Set the status — it isn't part of the create form. Start at proposed while you design, and switch to active only once a consumable output port exists. Status is informational (it doesn't gate access) but consumers rely on it; see Data Product Status.
- Add output ports (how consumers get the data) and input ports (the data products you depend on).
- Assign assets, costs, and tags for documentation, search, and lineage.
3. Add an output port
An output port is the endpoint consumers actually connect to — without one, your data product is just a description and can't be used. Add one once you have data to expose. (Still only planning? Skip this until the data exists, and leave the status at proposed.)
- On the detail page, choose Add Output Port.
- Give it a Name and an ID (e.g.
v1), and under Server pick the Type — the technology consumers connect to (Snowflake, Databricks, S3, Kafka, …). - Optionally set Auto Approve and attach an existing Data Contract here, or add the contract in the next step.
- Click Add Output Port to save.
4. Specify the output port with a data contract
The data contract is the promise consumers rely on — it tells them the schema, semantics, quality, and terms of use. Without it, no one knows how to consume the port or whether they can trust it, so this is what turns a raw endpoint into a usable product.
- Create a new contract from the output port and define its models, or
- Generate it from an existing asset if the data already exists — see Put data under contract.
The contract is automatically linked to the output port.
5. Assign assets (optional)
Linking the underlying tables, pipelines, or jobs as assets gives you end-to-end lineage and makes the implementation searchable and documented. Skip this if you don't need lineage or internal documentation yet — it doesn't affect how consumers use the product.
Open the Assets section on the detail page and assign the relevant ones. Internal implementation detail that consumers don't need to see can stay as assets rather than output ports.